So, this project broke $100/mo a few weeks ago in pledges, which means we broke my first goal and I will start uploading my sketches and process pics with each new release.
But before I do that, I figured it would be a good idea to try to contextualise these sketches and process pics by letting you know the kinds of tools I use and what the overall production process is like.
It really doesn’t matter what hardware or apps you use as long as it works for you, I’m just using mine to give you an example of a production setup.
The Hardware – A good enough computer, two monitors and a drawing tablet.
It’s just a computer really. It would have been a mid-range gaming PC about 5 years ago.
You don’t need much computing power or a particularly beefy graphics card for this kind of work, just enough memory. I have 16GB in my computer.
I use two monitors because having a second one for visual references or notes is a gamechanger for me. It lets me use the full first screen to just do my work and nothing gets too cramped. Not everyone likes it or would make full use of a second screen.
It’s useful to have a primary monitor/screen with enough built-in colour accuracy and enough backlight uniformity so your screen isn’t tricking you into seeing things that aren’t there. You don’t need to spend a lot to get one or buy a professional monitor or a calibration tool unless you’re an actual professional and have the money. People like Expert Reviews test their monitors for colour calibration and they helped me buy mine many years ago. I generally steer clear of TN-type LCDs because they generally aren’t that accurate and the backlight makes stuff look funny and I steer clear of IPS-type LCDs that aren’t certified professional-grade because they tend to have really bad backlight bleed. Mine is an MVA type.
If you want to get a second monitor, you can really just get it from a charity shop/thrift store, or freecycled. It doesn’t have to be very good at all. It just needs to work.
I use a Wacom Intuos 4 L to do the art. Even though you might not think drawing tablets improve this kind of work they actually make it much more nimble and easier on the hands. I like my tablets big (the drawing area on mine is slightly smaller than A4), most people prefer smaller sizes like an A5-sized drawing area.
If I were to improve any of this, I would replace my primary monitor (which is 1080p) with a 4K one because seeing my emoji in higher display densities as I make them would be really useful.
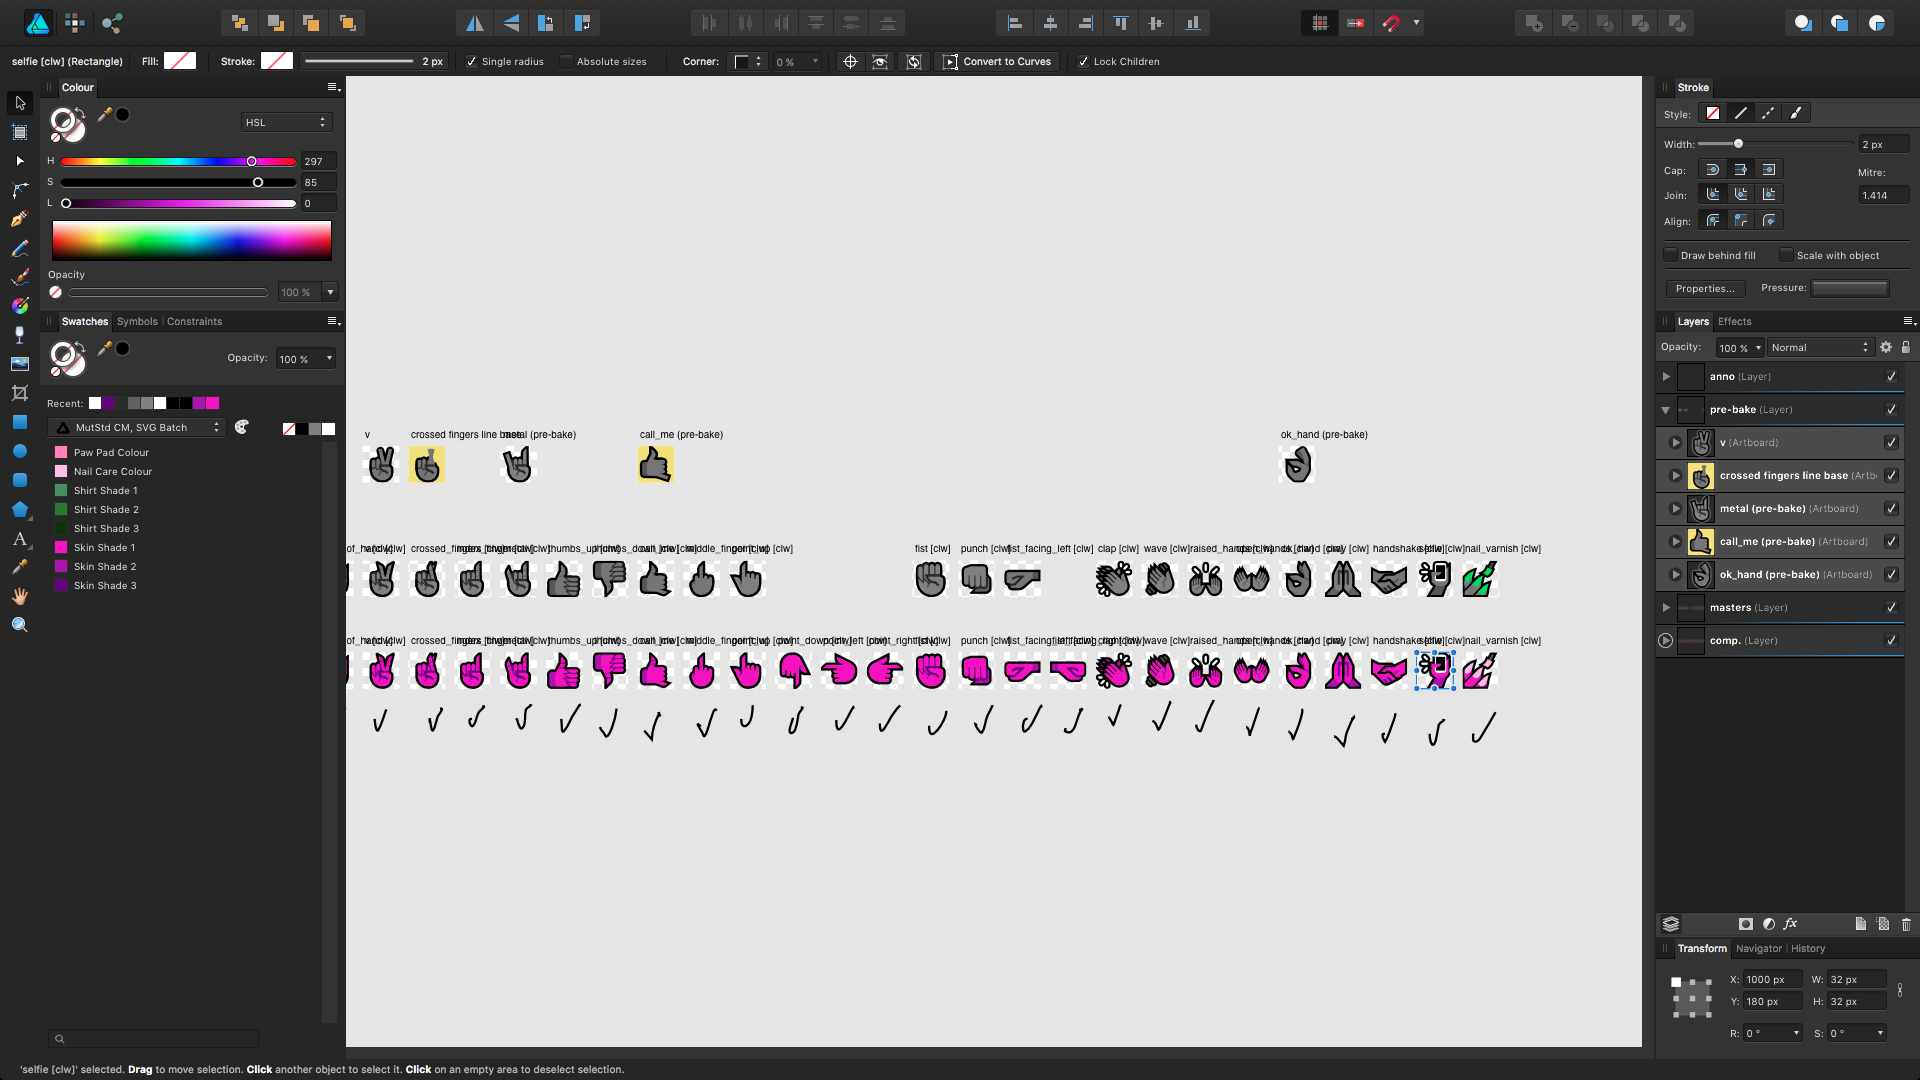
Sketching – Affinity Designer, Clip Studio Paint, or paper (rarely)
I don’t do freehand drawing all that much because it doesn’t give me a sense for the design limitations that I have. I usually just sketch shapes out in vectors directly in Affinity Designer. If I do ever do freehand, it will usually be in Clip Studio Paint. The English localisation is really bad, but I really like the brush engine and customisation features.
Sometimes I’ll do physical sketching on actual paper but I find it a drag because I have to scan it or take a picture of it afterwards so I only do it when I don’t have my computer around and I really wanna come up with some ideas.
Vector art/Final designs – Affinity Designer

All vector art is done in this application. Apart from expand stroke and convert to curve functions being rather unreliable and shaky, it’s a really great app. It’s available for Windows and Mac and despite being cross-platform, Mac users get most of the conveniences that they would expect from a Mac app. They even have a Metal viewport rendering option.
All emoji designs are compressed once done and then exported to SVG to be passed over to the batch exporter.
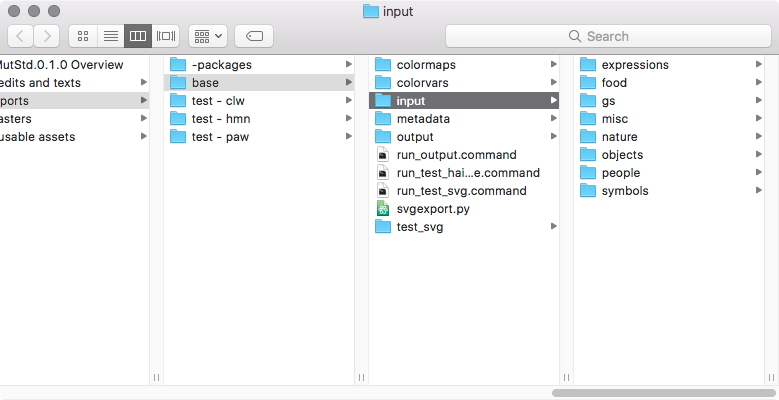
Batch exporter – custom script

The custom script (made by kiilas in Python) batch recolours SVGs that I export from Affinity Designer, and then uses Inkscape to export to PNG in the various sizes that we use. It also does things like embed RDF metadata via exiftool.
If you’ve ever looked at the EXIF data for a PNG emoji from Mutant Standard, this is why you will see Inkscape shown as the app that made the PNG instead of Affinity Designer.
As some of you know, kiilas is working on a more powerful tool that we call Orxporter. It will hopefully be finished sometime soon, but kiilas has been dealing with a lot recently so unfortunately the timescale on that has moved to a vague one. Orxporter will still be using both Inkscape and exiftool, and it will be open sourced so you will be able to use it too!
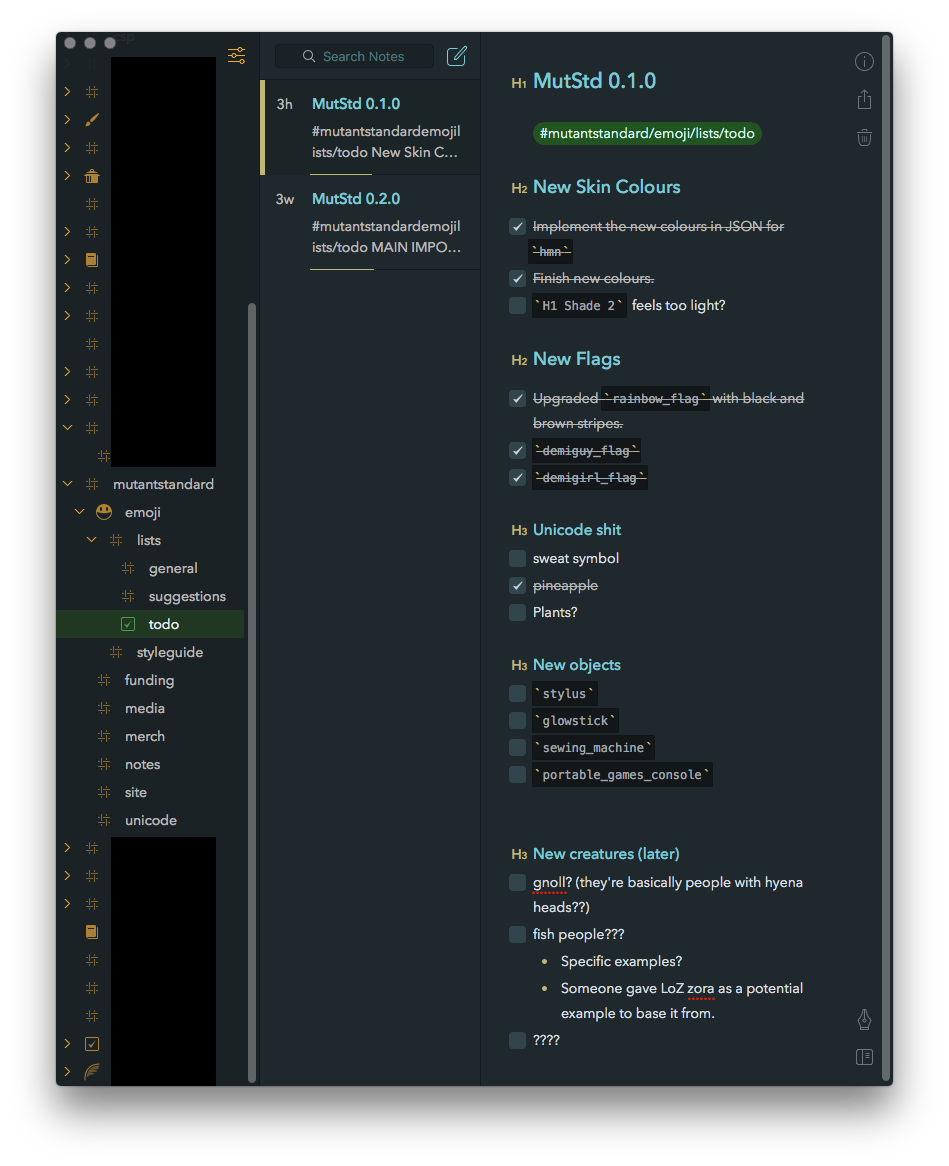
Notes – Bear

I keep all my todo lists, emoji I want to work on, thoughts and such on here. I make a todo list for each version I’m working on at that moment in time, so I can generally give myself some goals I want to complete. I don’t complete all of them usually, but it gives me some comfortable milestones and an array of things or themes I feel like doing at the time.
Giving myself a slice of emoji ideas to do for each release is a great way to keep me motivated, keep a consistent release schedule and to not make the process feel monotonous.
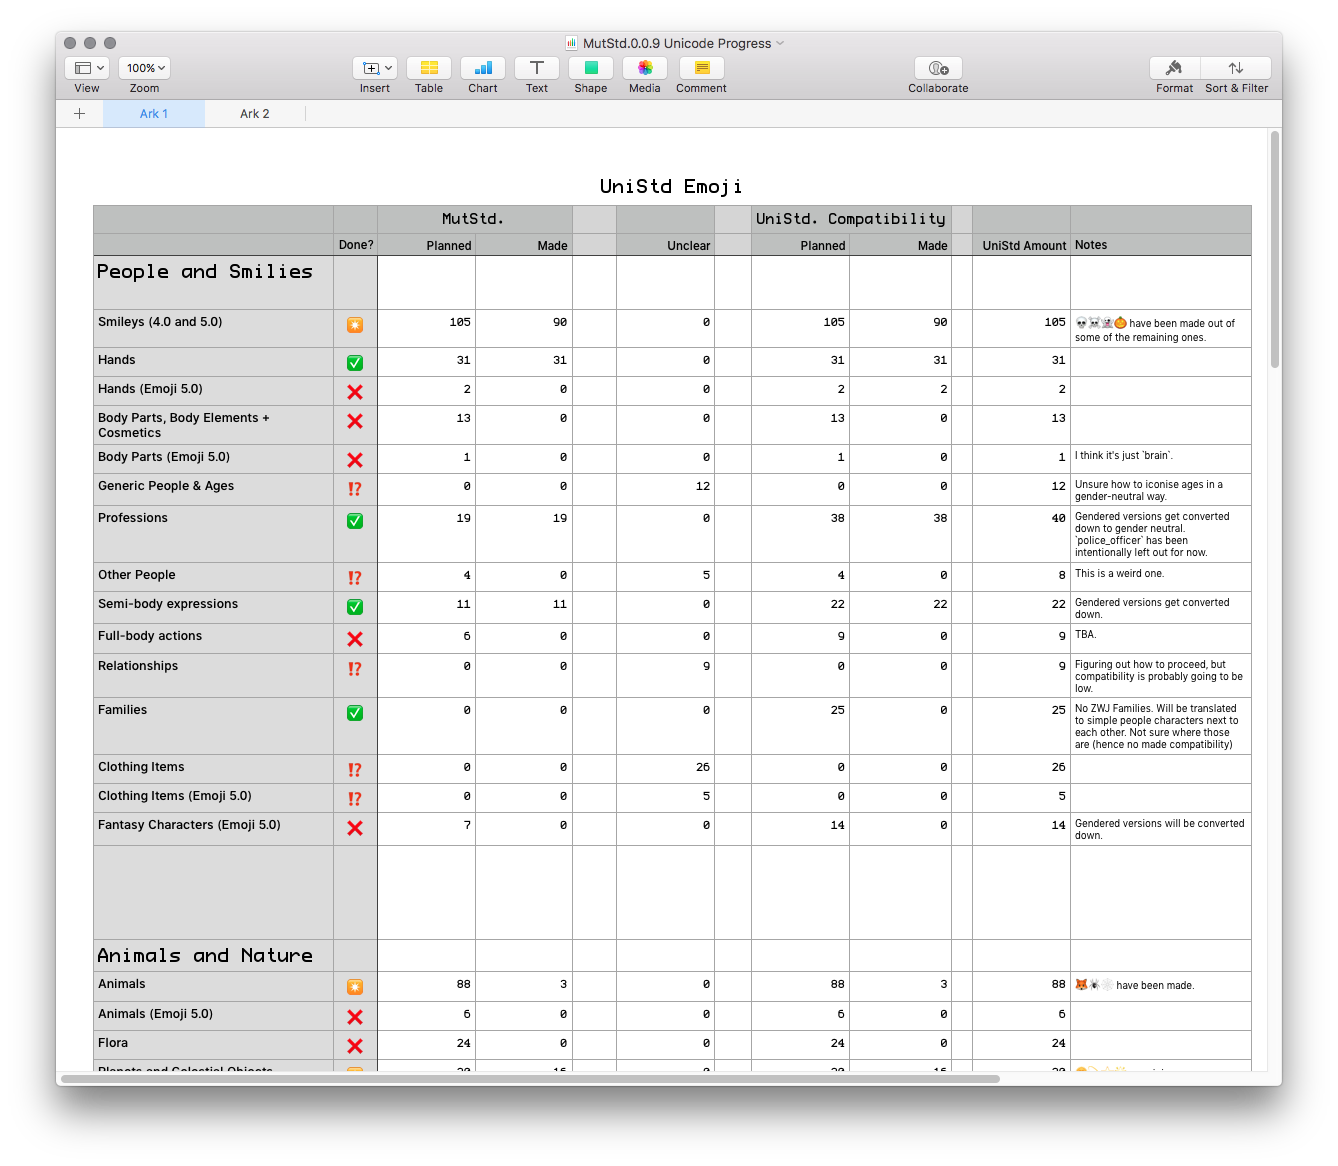
Keeping track of Unicode progress – Apple Numbers

I actually went through the Unicode emoji in my emoji picker and vaguely grouped them up by theme and counted them, and then made notes about what I think of them, how many of them I plan to make, what I have made already etc. I duplicate the spreadsheet for each Mutant Standard release that’s had new Unicode emoji.
This is how I calculate the approximate percentages for Unicode set compatibility.
That’s basically it! Hope that gave you more insight :). The next post will be about how I put these tools into action.